Desktop personalization is an important aspect of tech life. A personalized operating system helps you stand out, creating a comfortable work and play environment. Therefore, this article covers a bunch of ways you can customize the look and feel of Windows 11.
1. Custom wallpapers
The home screen is the first thing you see after unlocking the system. A great way to personalize your Windows 11 is to set your home screen background to a pretty picture that you like. It could be something as simple as a photo of a loved one or a favorite image. You can go even further by setting GIFs and short videos as your desktop background.
How to use live wallpapers on Windows 11
To do this, select Start, click the Settings icon, and go to the Personalization tab.
Wallpapers settings
On this tab, you will see the Personalize your background tab below. Make sure the Personalize your background tab is set to Picture, and you'll see a selection of pre-installed high-resolution images that you can choose from. If none are to your liking, you can import your downloaded photos by clicking Browse photos.
2. Windows Themes
Windows 11 is an operating system that allows you to personalize more than just the desktop background. The Windows Themes feature lets you sync your customizations, eliminating the need to change individual features. You can save your desktop wallpaper, lock screen wallpaper, apps, window colors, and more in the same theme.
To do this, open Windows Settings, select Personalization, and navigate to the Theme submenu.
Windows 11 themes setting
You can choose from a collection of pre-made themes to change the overall look and feel of Windows 11. You can also create a custom theme by manually changing each feature and saving it by clicking the Save button.
3. Set the slideshow as your desktop background
Just a single photo as the desktop background can be tiring. Thankfully, Windows 11 has a feature that lets you turn your desktop background into a slideshow. This is a great way to add interest to your screen and make it look different from moment to moment.
To do this, open Windows Settings and open the Personalization menu. Navigate to the Background submenu and select the Slideshow option.
Windows 11 slideshow settings
Once you have selected this option, click the Browse button. This will open the File Manager window, from where you can choose a folder containing your favorite images for the slideshow. You can set the duration between image transitions and even shuffle the image order to make things interesting. The slideshow also works well in a custom theme.
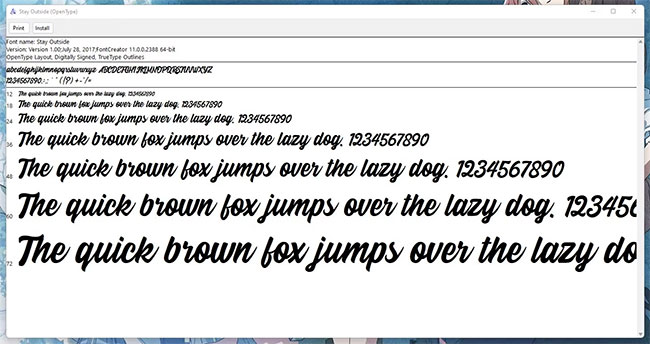
4. Custom fonts
Another way to improve the look and feel of the Windows 11 desktop is to change the text font. There are hundreds of unique fonts out there. You can use these two methods to download and install fonts on Windows 11. The font folder is usually compressed.
Add font styles to Windows 11
Double-clicking on the font file will open a window showing its preview. Click Install to add the font to the system.
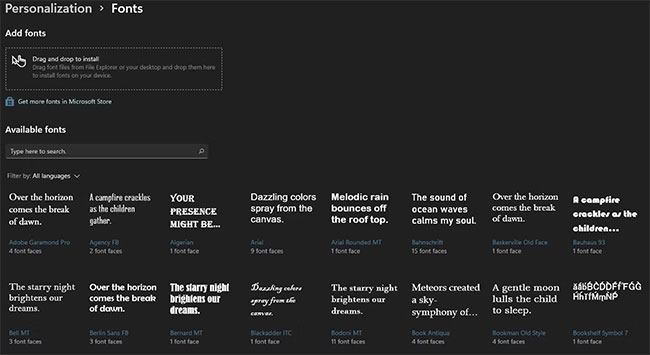
The second method to install fonts on Windows 11 is to drag and drop the font file into the box provided in the Fonts submenu under the Personalization menu. The font will be automatically installed on your computer.
Windows 11 font menu
You can change your system font by choosing from the available fonts in the list provided. You can also change the color of highlighted and unhighlighted text in Windows 11.
5. Custom apps
Another great way to personalize Windows 11 is by using some of the best Windows customization apps. A good example of a custom application is Lively Wallpaper. This free Windows Store app lets you set GIFs, custom images, and even web pages as your desktop background.
Desktop Wallpaper
Lively has several stock wallpapers to choose from, but you can easily add your own to its extensive library.
6. Add apps to the taskbar
The taskbar is a handy feature that gives you quick access to a short list of apps. Unlike previous versions, the taskbar of Windows 11 is centered, but it is still fully customizable. You can add and remove your most-used apps from the taskbar, giving you quick, convenient access to the tools you need when you want.
To pin an app to the taskbar, launch it from the Start menu and right-click the taskbar icon.
Pin to Taskbar
A small drop-down menu will appear with the Pin to taskbar option. After you select this option, that app icon will remain on your taskbar even after you close it.
Also, the process is simple if you want to remove an unwanted app from your taskbar. Right-click on the unwanted application on the taskbar. Select Unpin from Taskbar from the pop-up menu. The app will disappear from your taskbar immediately after you do this.
Unpin from taskbar
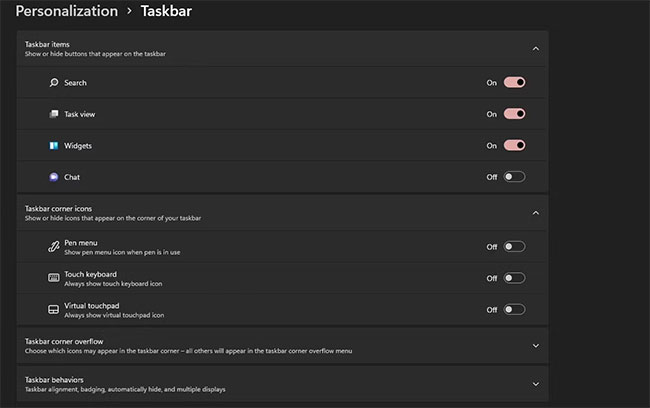
You can also choose which pre-installed system apps to show on the taskbar by accessing the taskbar menu in the settings. To do this, open Windows Settings and navigate to the Personalization tab. Next, click on the Taskbar submenu to open the settings.
Select the application to show on the taskbar
7. Customize the Start menu
The Start menu is a more detailed list of the applications and files available on your computer. You can pin your favorite apps and folders to the Start menu, so that they are always visible whenever you click the Start button.
Click the Start button and scroll to your favorite app. Then, right-click the app and select Pin to Start.
Customize the Start menu
Note that you can only pin a limited number of apps to your Start menu, so choose wisely. You can also customize the Start menu in Windows 11 in other ways, such as using external applications to change the appearance.
8. Customize the system sounds and change mouse pointer
Another way to make your Windows 11 stand out is to change the system sounds and use a custom mouse pointer. The triangle pointer is a classic, but Windows 11 lets you get creative with what you use to select your apps.
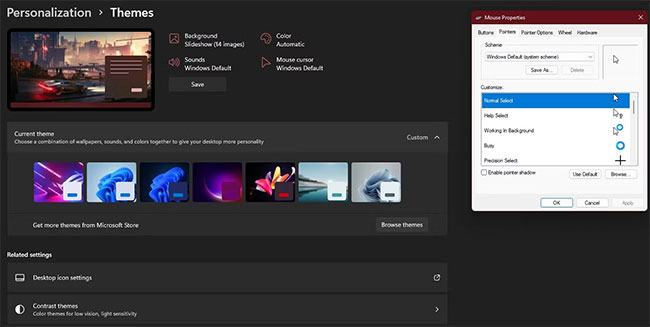
To access this feature, open Settings and the Personalization tab. Next, navigate to Themes and you will see the option to modify the mouse pointer and system sounds.
Customize system sounds and change mouse pointer
When you click on the Mouse Cursor option, a window will appear, allowing you to cycle through a list of predefined pointers that you can choose from. Of course, you could do a little more advanced customization.
You can change your system alerts for different tasks from the Sounds menu. For example, you can customize the charging sound, the device tethering sound, and more. In addition, your custom selections can be saved as themes, allowing you to freely switch between different sounds and pointers at the touch of a button.
Any tweaking comes down to personal preference. Windows 11 allows users to personalize different aspects of the operating system so that they can feel more comfortable using their computer. There are other ways to customize your screen, such as changing your lock screen settings and screen timeout.
As such, Windows 11 allows users to stand out and create their own unique experience.
One of the "worst" problems that users often encounter on Windows 10 is the black screen error.
The black screen error can occur in some situations on Windows 10, stemming from problems related to the graphics card, the connection error between the computer and your monitor, the error occurring during the installation of the operating system, updating to new versions, etc., or simply happening randomly at any time.
In the article below, the administrator will guide you with some solutions to fix the black Windows 10 screen error.
In addition, if you encounter a black screen error on Windows 7, 8, or 8.1 computers, readers can refer to the steps to fix the error here.
Steps to fix a basic black Windows 10 computer screen
1. Black screen error during installation
Once there, try turning off the computer by pressing and holding the power button for a few seconds. If using a laptop, you can unplug the charger and remove the battery.
Unplug all unnecessa...
Problems with certain programs may arise as a result of Windows 11's ability to automatically install drivers and replace newer drivers with outdated versions.
Emails, forum posts, and phone calls have all informed us that Reddit It appears that AMD drivers in Windows 11 are being replaced by accident when using Windows Update.
Because of this problem, users may see a message reading "Windows Update may have automatically replaced your AMD Graphics driver" and titled "AMD Software: Adrenalin Edition Warning." Therefore, the AMD Software you have launched is incompatible with the AMD Graphics driver you have installed.
" data-sizes="(max-width: 627px) 100vw, 627px" />
In a proof of concept Unfortunately, the Universal Windows Platform (UWP) driver for Radeon GPU hardware that was installed by Windows Update is incompatible with the version of AMD Software that was previously installed.
It's possible that the manufact...
Microsoft is preparing to launch Windows 12 in the fall of 2024, with a wider rollout in 2025, and it is internally experimenting with several new design ideas, including a new desktop experience with a ‘floating’ taskbar. Microsoft wants to create a floating effect for the taskbar by separating it from the desktop and rounding off the edges.
Microsoft has yet to confirm the existence of Windows 12, but we know it is coming soon; at least, this appears to be the company’s current plan. Microsoft sticks to this new engineering process, we might get Windows 13 in 2027 or later, but the tech giant’s plans are always subject to change as they have in the past.
At the Build 2023 developer conference, Microsoft announced several exciting updates for Windows 11, such as Windows Copilot and AI integration in the desktop operating system. During the event, Microsoft also dropped a hint that it is working on a “next-gen Windows”, which seems to imply Microsoft plans to launch a ne...


 Windows 11 themes setting


Nhận xét
Đăng nhận xét